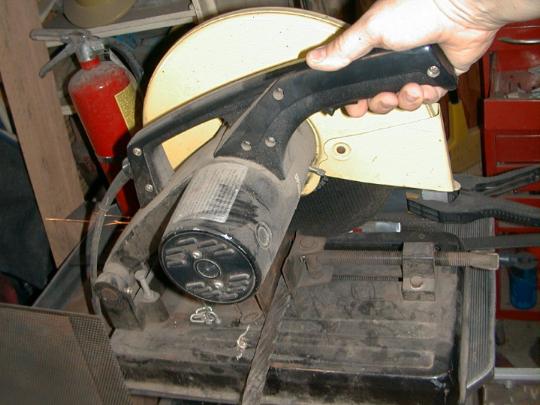
 First, cut a piece of 3/4" steel cable.
Welded Cable Dagger
Last updated 02/04/2002
Click thumbnails to view full sized image.
This dagger is being made for a fund raising raffle to be held at the Festival of The Rose event, taking place 02/02/02 at Cal-Tech. Below are photos from the first day of work.
First, cut a piece of 3/4" steel cable.
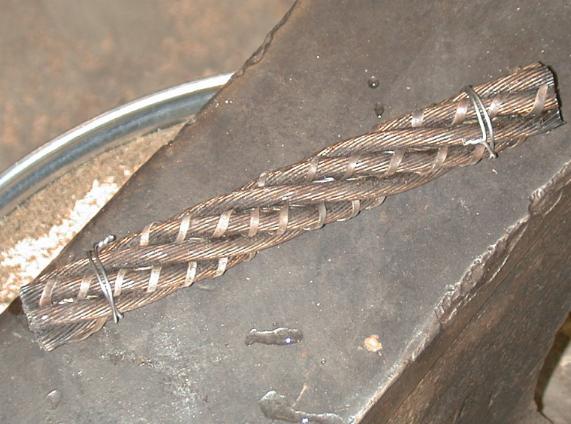 Then take the cable bundle apart and wrap a strand of thin nickel sheet
around every other skein in the cable. Reassemble the cable and wire the ends
together
Then take the cable bundle apart and wrap a strand of thin nickel sheet
around every other skein in the cable. Reassemble the cable and wire the ends
together
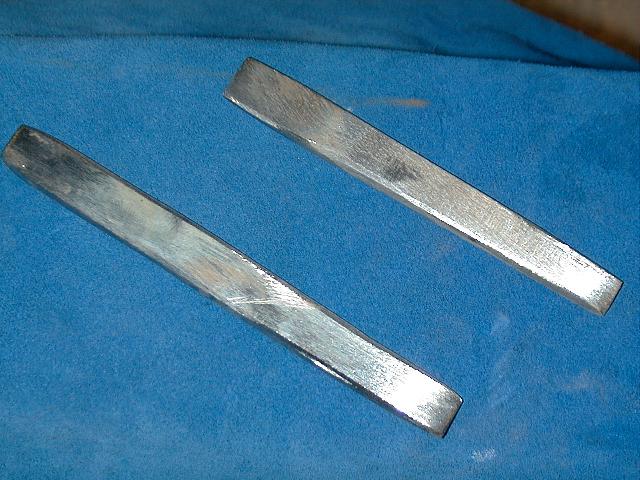
 . Forge weld the cable into a solid billet. (also shown
with another welded cable billet, done at the same time)
. Forge weld the cable into a solid billet. (also shown
with another welded cable billet, done at the same time)
 Grind the surface flaws off (these can be quite deep in welded cable), before
additional forging is done.
Grind the surface flaws off (these can be quite deep in welded cable), before
additional forging is done.
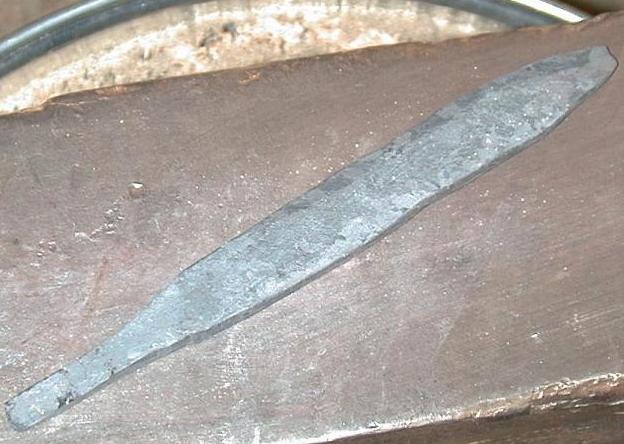 Draw the bar out, forge the basic profile (not as well done as I'd like) and
pack the edges.
Draw the bar out, forge the basic profile (not as well done as I'd like) and
pack the edges.
 Start grinding.
End of Day One.
Day Two, my goal is to complete the blade.
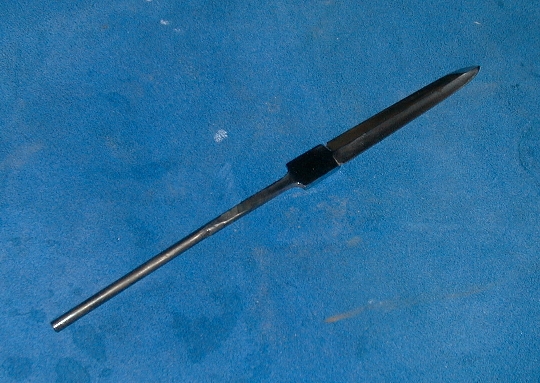
 Lengthen the tang by welding on a piece of 1/4" rod.
 Harden and temper the blade. Note my high tech tempering oven.
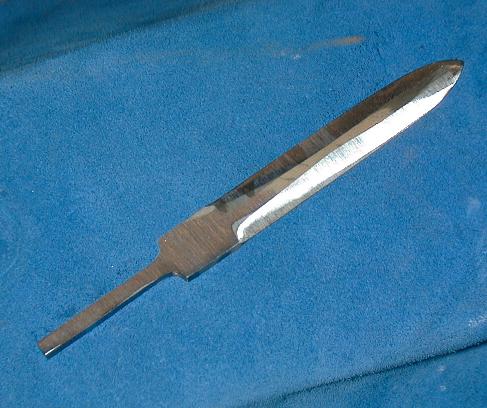
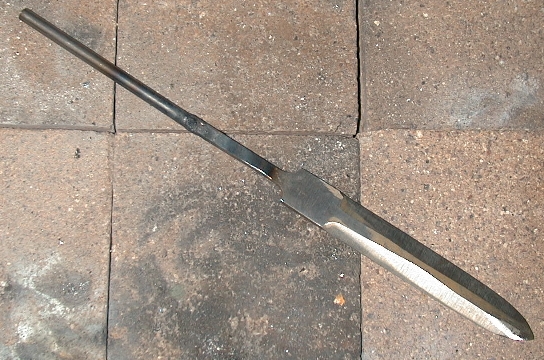
 Finish grind and polish the blade.
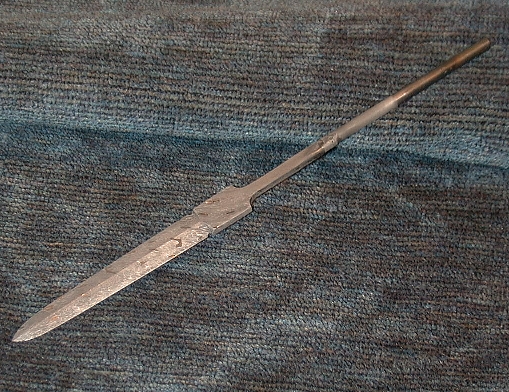 Etch, and then clean the blade. It's now ready for fittings. (Overall I'm
pleased with the blade. The grind lines aren't perfect, but that will come with
more practice. This is my fourth knife ever, and only my second as an
adult)
Etch, and then clean the blade. It's now ready for fittings. (Overall I'm
pleased with the blade. The grind lines aren't perfect, but that will come with
more practice. This is my fourth knife ever, and only my second as an
adult)
Days three, four and five I was only able to work a couple of hours in the evening.
Day Three
These nights were dedicated to the fit and finish of the knife. First, I roughed out the guard and pommel from brass. Then I shaped the handle on the lathe and ground down flats in the handle with the bench grinder. Shown is every thing in the ruff fit stage.
Day four
On night four I soldered the guard in place and started polishing the brass. Gordon came over to the shop and hand sanded and oiled the handle. Now everything is ready for assembly and final clean-up.
Day five
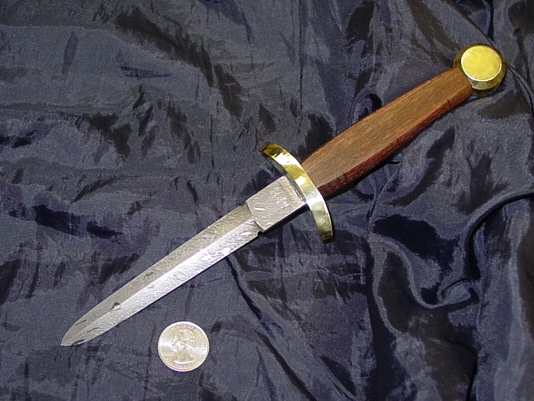 This last night is devoted to a
Dremel tool and epoxy. With
final assembly and clean up done, the total time spent on this project comes in
at about 11 hours.
This last night is devoted to a
Dremel tool and epoxy. With
final assembly and clean up done, the total time spent on this project comes in
at about 11 hours.
For More Information Contact the Author via e-mail.